
AI Outfit Try-On From a Product Screenshot (2026 Guide)
How to try clothes on your photo from an online-store screenshot — what to upload, what fails, and how to turn the still into a clip.
PhotoStudioGen Editorial6 min read
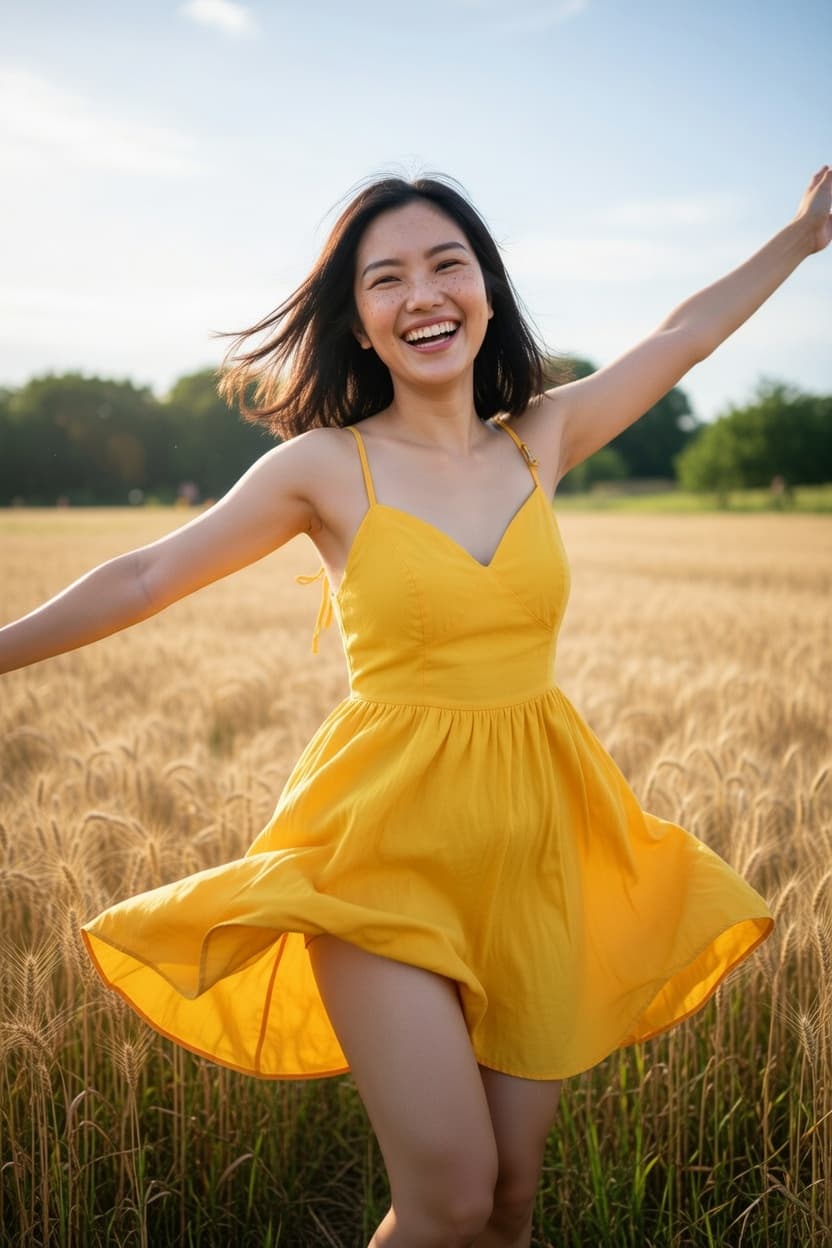
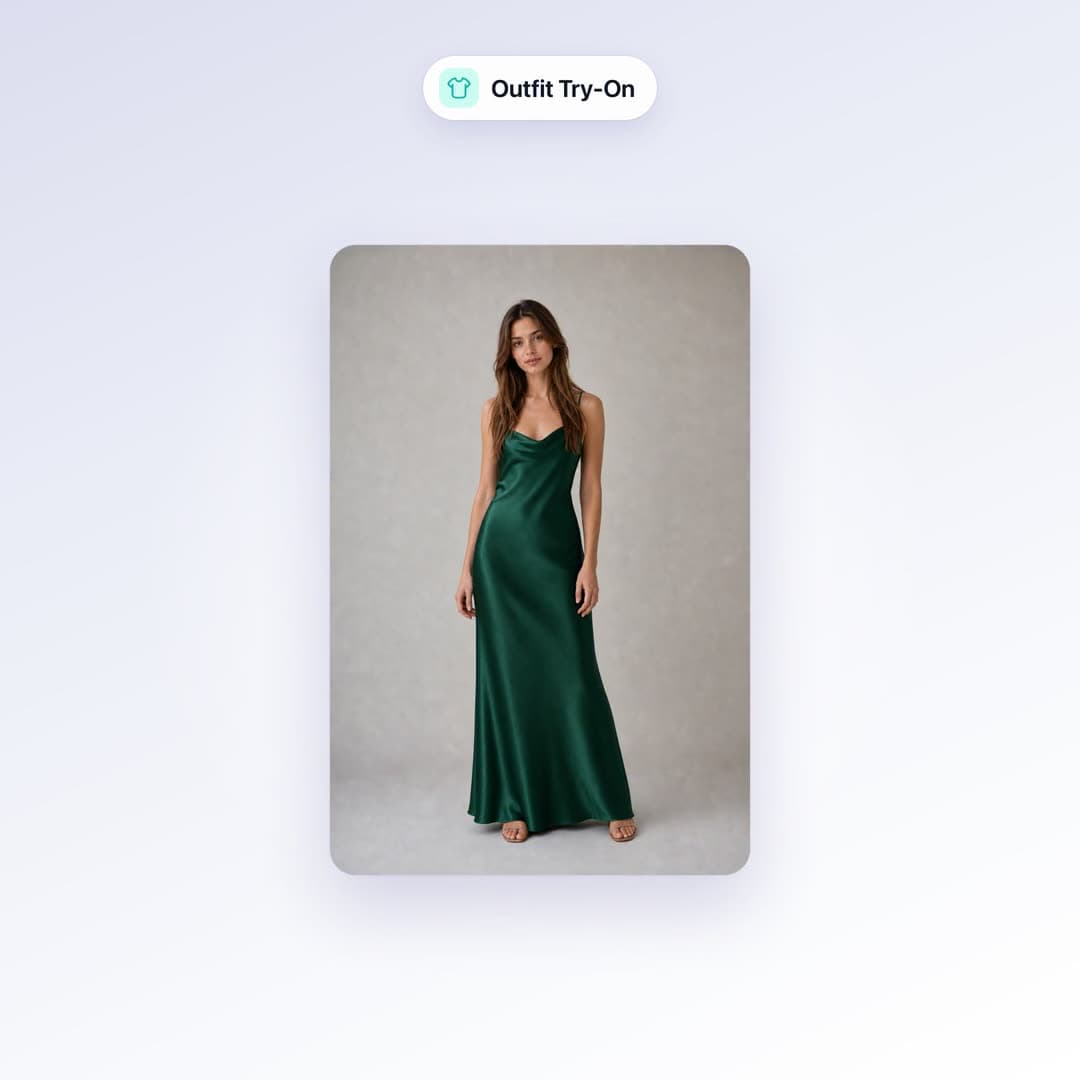
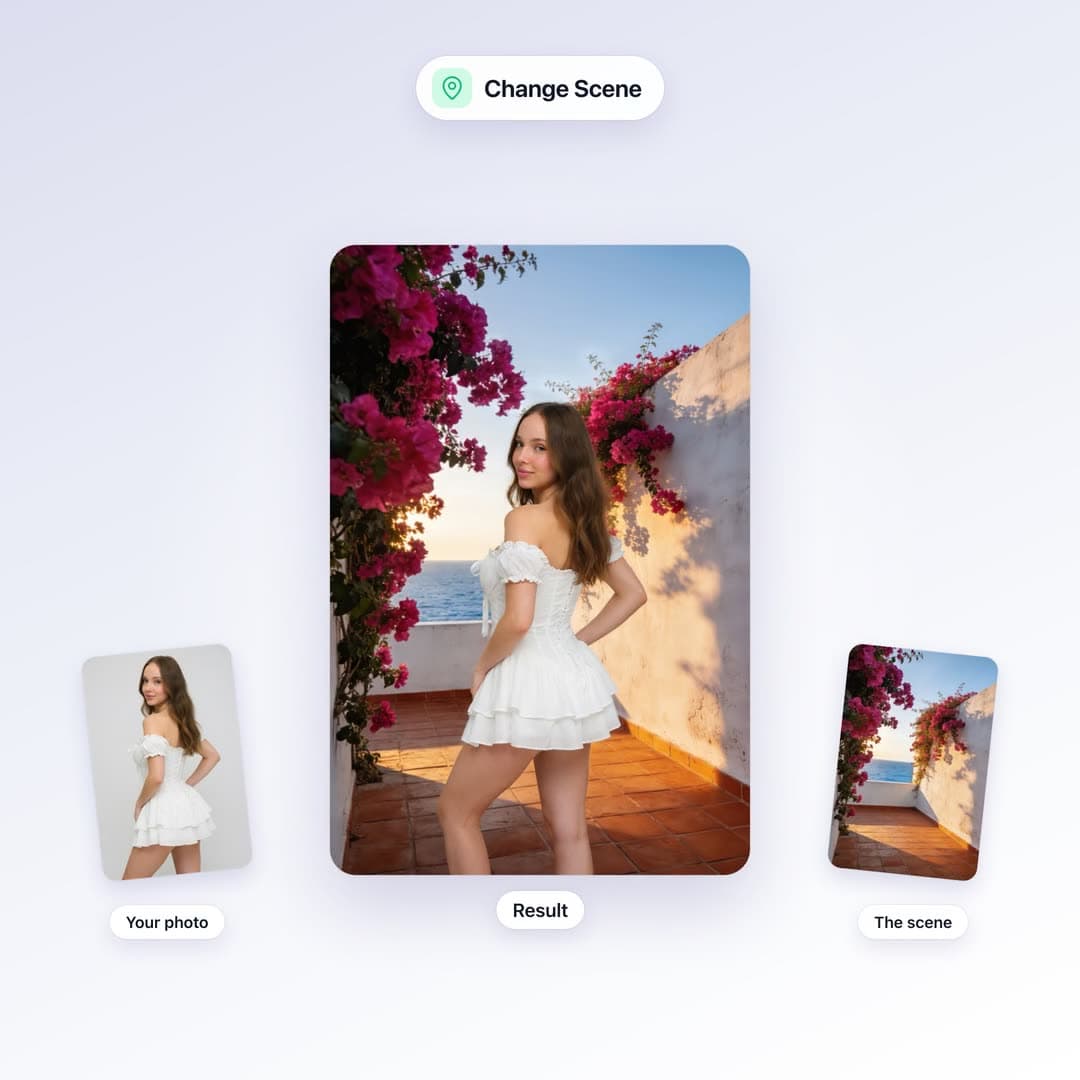
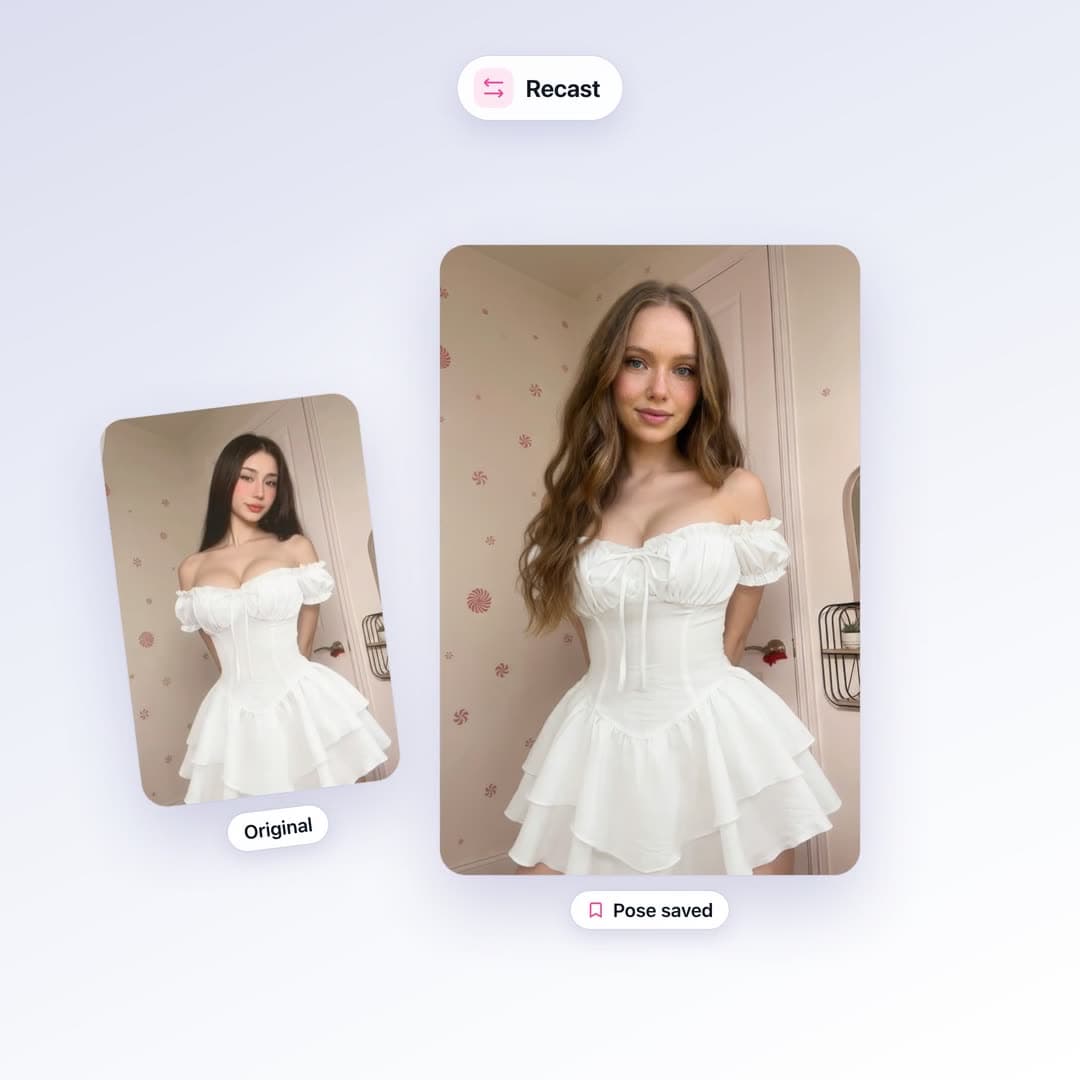
Outfit try-on is not a beauty filter. You give the model two pictures: you, and the garment. It renders the clothes on your body and leaves your face alone.
That is the difference between “AI slop overlay” and a shot you can actually use to decide a purchase — or post a lookbook.
What to upload
You: standing, well-lit, not a group, not a heavy filter. Full-body if the outfit is a dress or set. Three-quarter is fine for tops.
The clothes: a product-page screenshot works. Hanger and flat-lay work. On-model catalog shots work if the garment is fully visible. A cropped thumbnail of a sleeve does not.
The three-step loop
- Sign up and open Outfit Try-On.
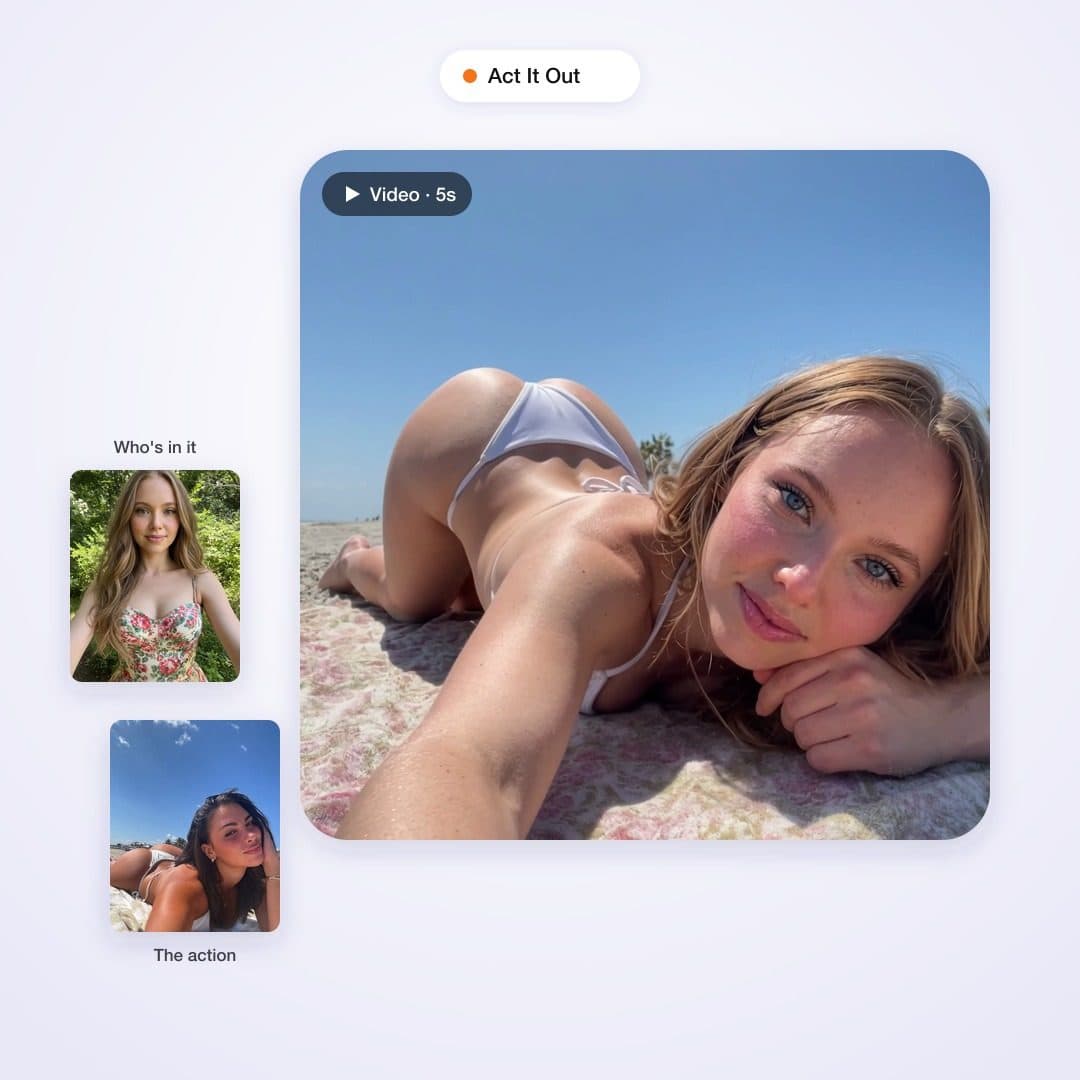
- Upload your photo and the clothing shot.
- Optional: add a line like “bright studio, full body” — then generate.
Outfit Try-On uses your plan's monthly usage. Every plan includes the tool, starting at $10/month.
Make it move
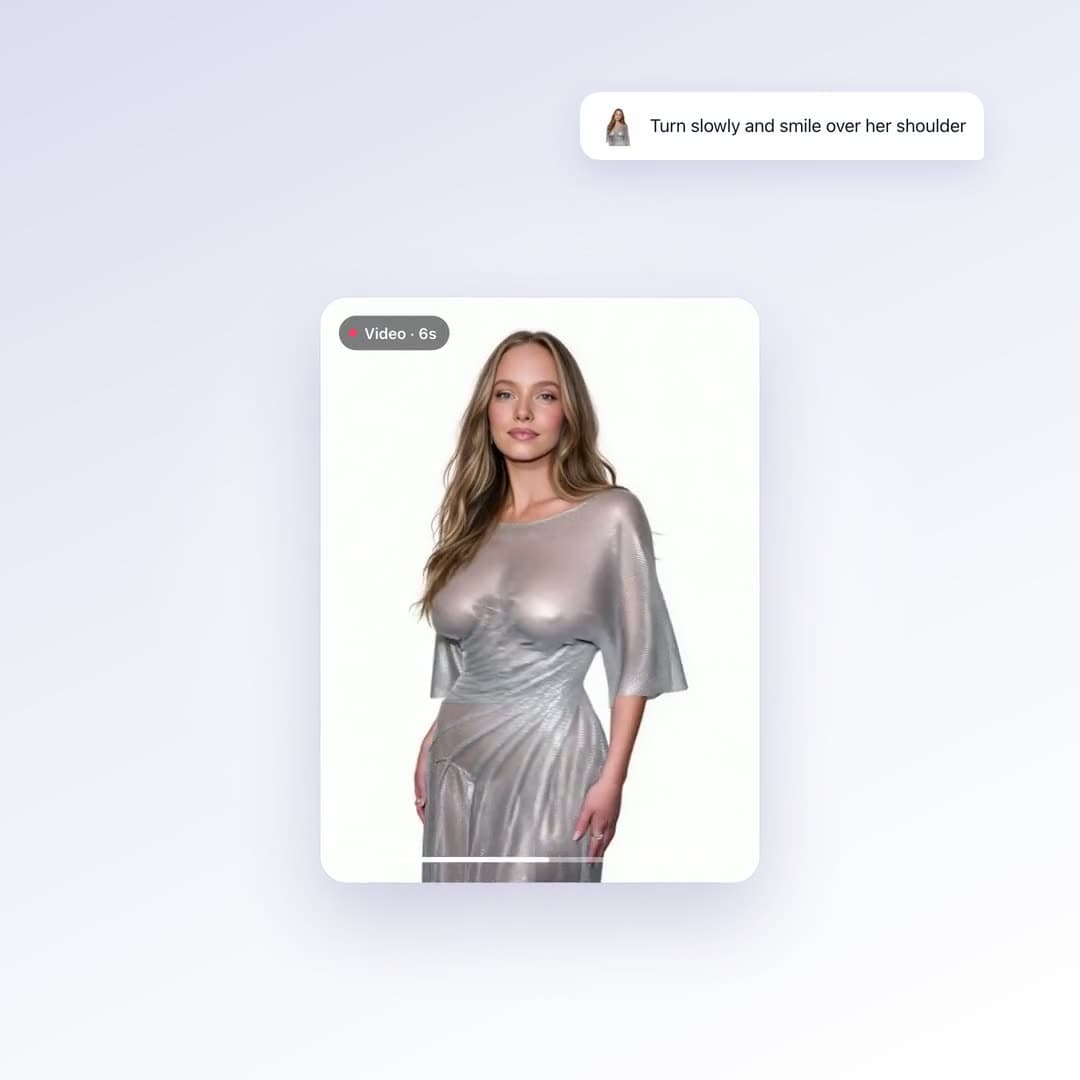
A still is enough to judge fit. A 5-second turn is what you post. Send the try-on result to image-to-video and describe the motion in one sentence.